A Cable Organizer Plus Cable Labels Keep Cords Accessible & Tidy
If you’re like me (and most people), there are certain areas where the power cables seem to take over. Your living room may have cords for the TV, sound system, gaming system and more. Your office may have cables for your laptop or PC, monitor, video camera, speakers, microphone, lights, and more. Even if you’ve already found the perfect cable organizer to keep all of your cords and wires tidy, how do you know which cable works with which device?
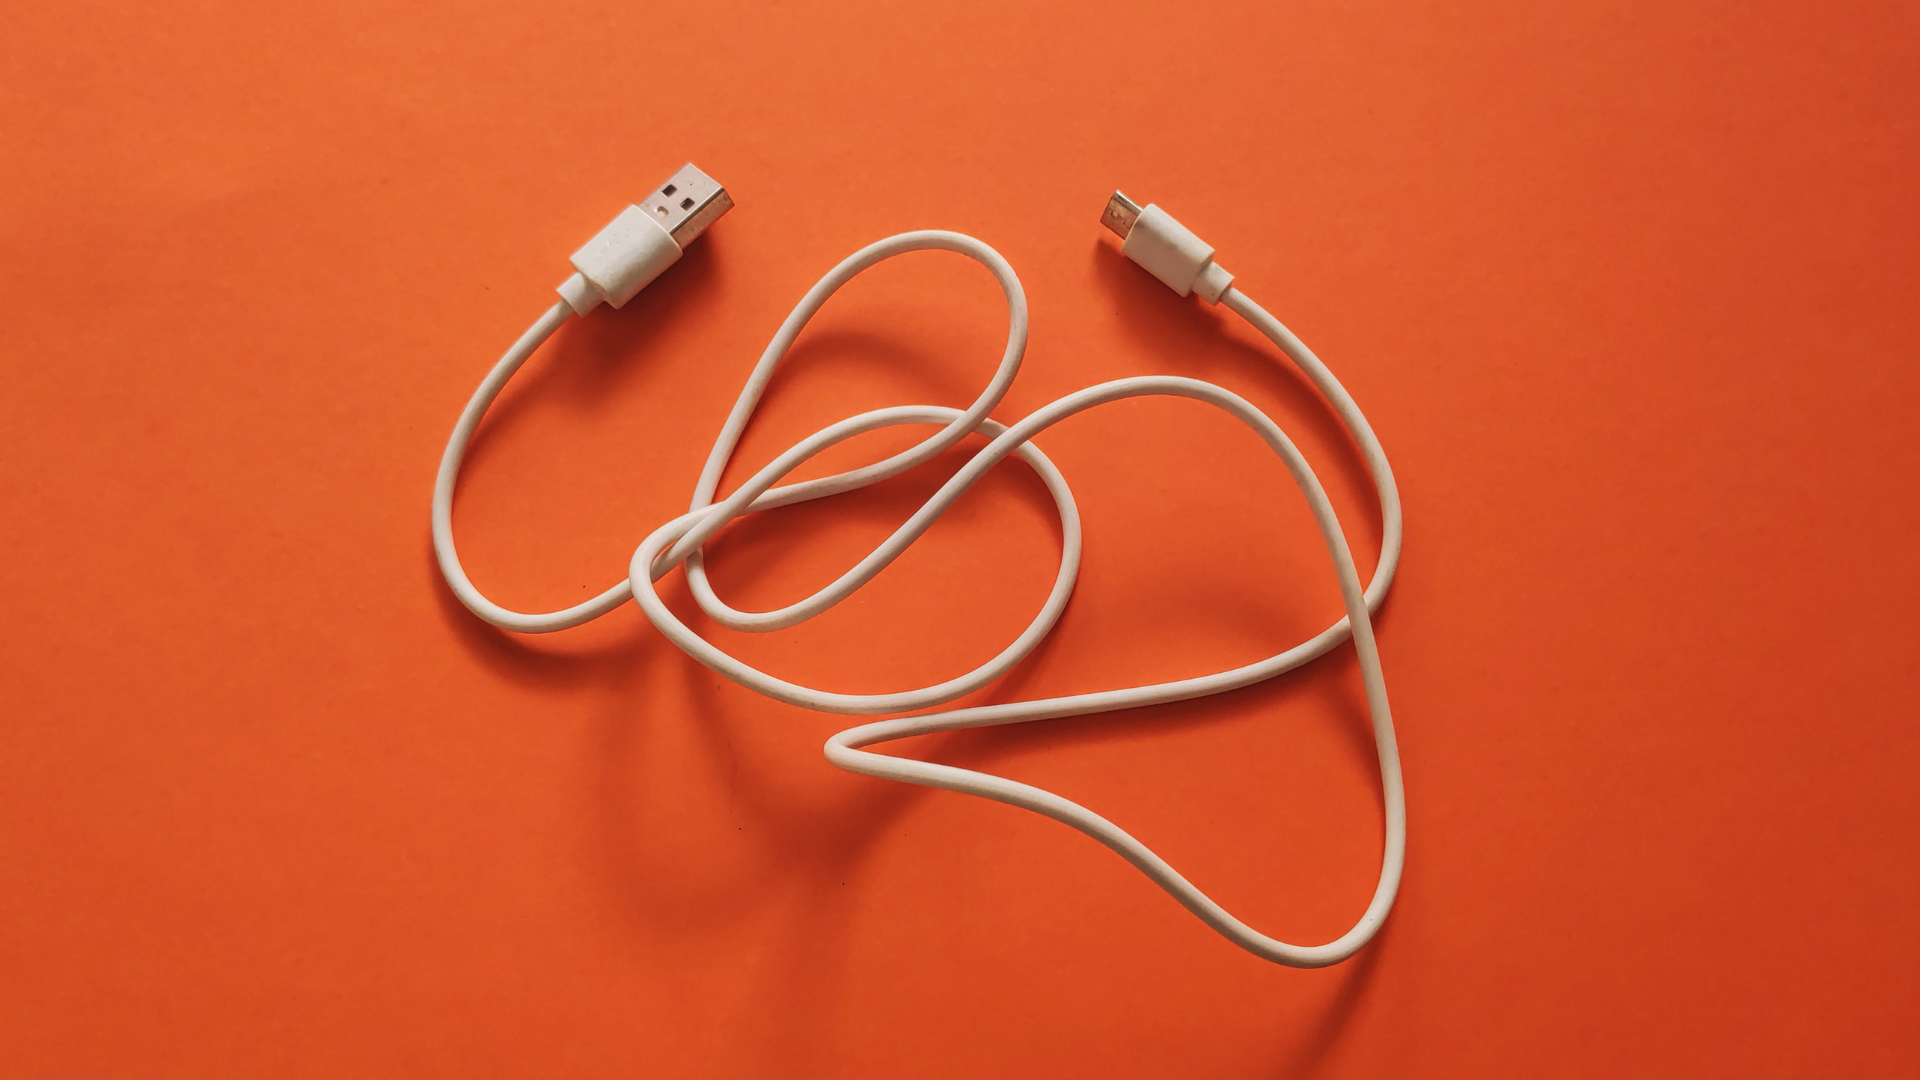
Whether the cables are currently in use or hidden away with other spare charging cables, knowing exactly what the cord is for can be a guessing game. Enter the cable label!
Label each cable with a WayTag NFC tag to describe what it is used for, what kind of connection is at each end, and any other information you’d like to include. You’ll never again have to try to tell a USB-C and lightning cable apart!
Here’s a template you can use with the WayAround mobile app to label your cables. Keep reading for a description of what we recommend including in each field:
- Description field: Enter what the cable is used for. Ex. iPhone 13 or TV. If you need to find a cable for a specific device or peripheral, you can access it easily.
- Select Custom Detail Type
- Add a text field
- Label: Cord type
- Text: enter info about both ends of the cable – USB-A to USB-B. Sometimes you can tell by feel, but some can feel very similar. Ex USB-B and lightning cable
- Other information you could include: the color of the cable, a hyperlink to order more cables, a note about the device it was originally for, the year you acquired it (so you can throw out old cables!), and anything else that will help keep your cables organized!
The Best WayTags to Use with Your Cable Organizer
Now that you know why cable labels are important and what type of information to include, it’s time to decide the best WayTag to use for your cables. WayTags come in many different types, so it’s up to you which one you choose. Here are three great options:
- Oval-hole Button
With a little creativity, our very popular oval-hole button can attach to just about anything. For your cables, use a zip tie to secure the button to the cable. - Two hole Button
Use a pipe cleaner with a two-hole button (the kind you would sew into a garment). Thread the pipe cleaner through the button so that the button is in the center of the pipe cleaner and both ends of the pipe cleaner are pointing in the same direction. Then, wrap each end of pipe cleaner around the cable. This technique is a great way to color code cables to easily tell them apart! - WayTag Sticker
Use a cable identification label around the cord, and then stick the WayTag sticker on the flag. Since the sticker is a little wider than the cable identification label, keep the backing for the sticker. After you place the sticker on the cable identification label, use the sticker backing to cover any exposed adhesive from the sticker.
Which option is the best? It’s up to you! Choosing a WayTag to label your cables and wires is a matter of personal preference and how well it works with your existing cable organizer. Regardless of which WayTag you choose, be sure to apply it in a consistent location on all your cables. You can place the WayTag nearest the end of the cable that you plug into the power source. If you use a cable organizer, locate the WayTags where they can be tucked neatly into the organizer.
Labeling Extra Cables
One of the most useful applications of cable labels is for extra cables–the ones stashed inside your junk drawer or shoe box. It’s good to have extra cables around, but they won’t do you much good if you don’t know which is which!
You can apply WayTags to your extra cables in the same way you would apply the tags to cables currently in-use. The difference is in the information you write on the cable. In the description field, simply write the type for each end of the cable. For example: USB-A to USB-C. If you know what the cable was originally intended for, you can always write that, too.
The next time you find yourself rummaging through your stash of extra cables, you’ll be glad you took the time to label all those cables!
Subscribe today for more WayAround tips and tricks!
Want to get tips, tricks, and news from WayAround delivered directly to your inbox? Subscribe today to get the latest! We will never spam you, and you can unsubscribe at any time.


